In the toolkit you have your own group, your own place on the platform. Here you use the tools and work together with colleagues or advisers.
Create group
Create a new group to work with people. Note: creating a new group is not available for all users on every platform.
- Go to the homepage.
- Click the 'New group' button at the bottom of the page
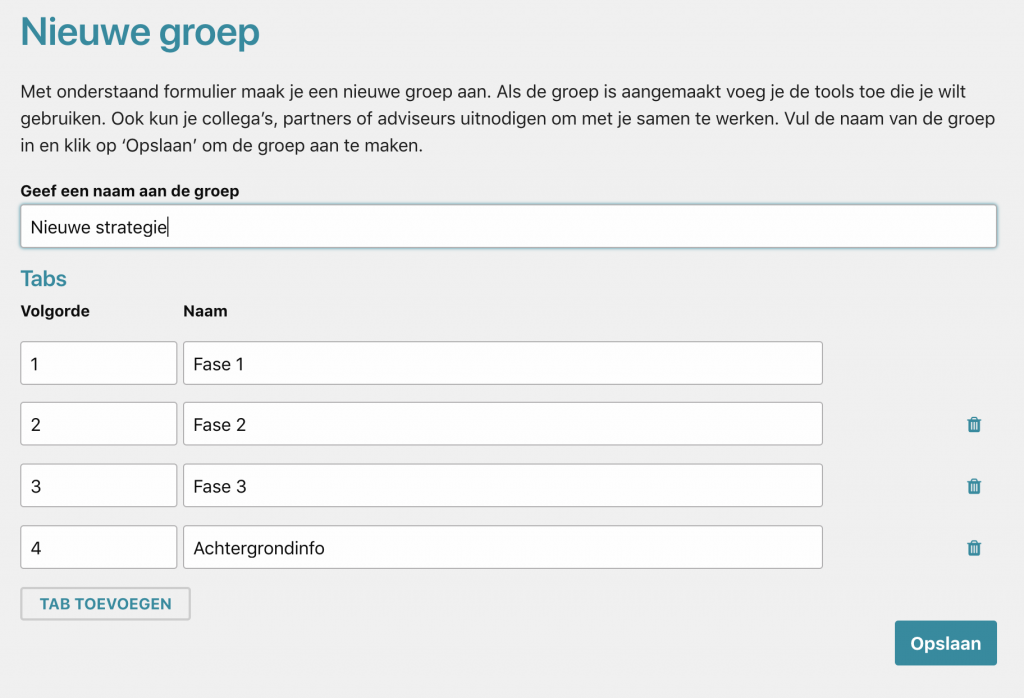
- Type the name of the group.
- Add tabs to the group. You can use this, for example, to group the tools in the group per phase of the project. You can edit the tabs afterwards.
- Give the tabs a name.
- Determine the order of the tabs by giving them the correct number. The tabs are displayed from low to high.
- Click on 'Save'.
Your group has been created and is in the overview on the homepage. You can now add tools and invite users.
Change group
The Administrator of a group can change the name and tabs of the group after creation.
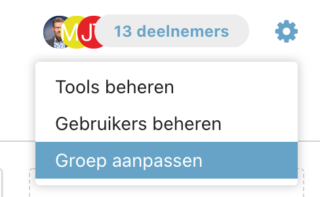
- Click on the gear at the top right of the group.
- Select 'Customize group'.
- Change the title and / or tabs and click 'Save'
Add tools
Required rights: Manager
Only users with the 'Administrator' role can add tools to a group.
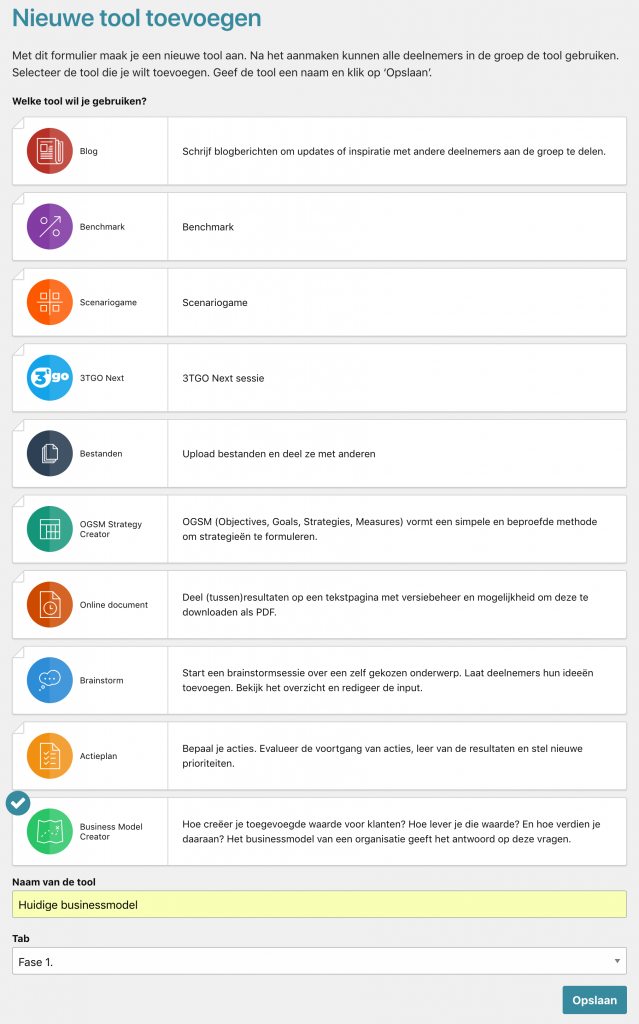
Add a new tool to a group to work with the tool.
- Go to the homepage.
- Click on the 'add tool' icon

A form will appear to add the tool.
- Select the tool you want to add by clicking on it.
- Type a name for the tool.
- Select the tab under which the tool must be visible.
- Click on save.